The first task was to assemble the pinions of the smaller idler gears. I made a jig for my Dremel so that I could round off the tips of the dowel, but found the standard hardware store dowel was far too soft, and so the rounding bit tore the hell out of the ends of the stock. I alleviated this by buying some 1/2 inch oak dowel.
 |
| my cute little collection of idlers |
After the rounding off was done it was time to drill the 1/4 inch hole for the pinion dowel. The 1/4 inch dowel fit a bit too tightly into the new Igus plastic bearings, so some careful sanding was needed. If you ever try to make something similar, word of advice, source out accurate dowel. That has been the biggest money waster so far, badly made dowel. Take some calipers with you on your shopping trips if you don't want to be disappointed!
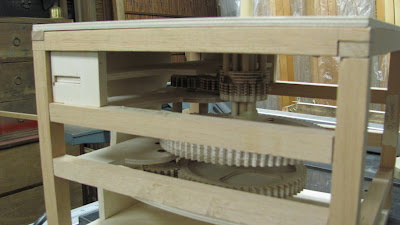
I next took quite a while making sure the 'arbor supports', the small planks that hold the gears apart, were spaced properly and the counter-sunk holes for the bearings were perfectly measures and drilled. This took the better part of an afternoon and a few gimmicks to make this work.
 |
| the first dry fit - very little movement but it did fit together! |
 So the current state of the gearbox is encouraging but daunting at the same time. In the image here you can see the top of the gearbox looks pretty complicated, but not for long. The circular bearings I made would not work due to the minor errors in the whole design, so I opted to make small UHMW plastic bearings to do the job, and they seem to be working well. The top outer plate there will look simpler and should be an even flat surface before too long.
Onto teeth sanding using a large cut-off wheel that I've stuck sandpaper to. Better wear a mask for that!
No comments:
Post a Comment